
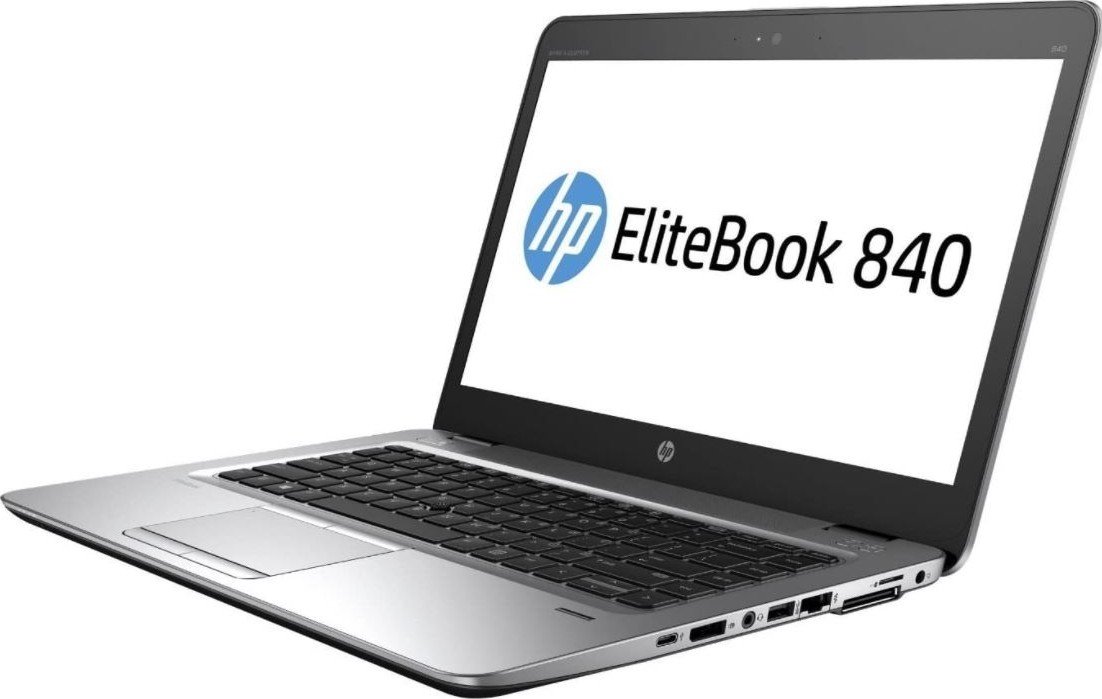
The HP EliteBook 840 G1 stands as a testament to durable business-class engineering. Even years after its release, this reliable workhorse remains in service for many professionals and students. At the heart of its stable operation lies a fundamental layer of software that serves as the bridge between the hardware and the operating system. Without this crucial intermediary, the screen would remain dark, the keyboard unresponsive, and the storage invisible.
This article provides an extensive exploration of the Hp Elitebook 840 G1 Bios. We will journey beyond the simple definition, uncovering how to access this critical system, configure it for optimal performance, protect it with security measures, and troubleshoot common failures. If you have ever wondered what happens when you press the power button before the logo appears, this guide will illuminate that process entirely.
Understanding the Foundation of Your Device
Before diving into specific key presses, it is helpful to understand what the term truly represents. The Basic Input/Output System, commonly shortened to BIOS, is the first software your notebook runs upon powering on. It is firmware stored on a small chip on the mainboard. Its primary responsibility is to initialize and test the system hardware components—the processor, memory, storage drives, keyboard, and screen—and then hand over control to the bootloader that starts the operating system .
In the HP EliteBook 840 G1, this system is actually a modern UEFI (Unified Extensible Firmware Interface) environment, though it is still frequently referred to by the traditional term BIOS. HP specifically titles this interface “Computer Setup” in their official documentation . This environment controls the communication between all input and output devices. Understanding how to navigate this pre-boot environment is a crucial skill for maintaining the health and longevity of your notebook. The configuration within this setup dictates the startup sequence, the amount of memory allocated to specific functions, and the deep-level security protocols that protect your data from unauthorized access.
Accessing and Navigating Computer Setup
To interact with the Hp Elitebook 840 G1 Bios, you must interrupt the normal startup process. Timing is essential here, as the window of opportunity is brief.
The Key Sequence to Enter
The standard method to enter Computer Setup is systematic. First, turn on or restart the computer. Immediately watch the bottom of the screen for the message “Press the ESC key for Startup Menu.” Once you see this prompt, press the Esc key. This action opens the Startup Menu, a gateway to several pre-boot options. From this menu, you will see a list of key options; press F10 to enter Computer Setup . This two-step process—Esc then F10—is the primary gateway to the firmware settings.
Navigating the Interface
Once inside, you will notice the interface is graphical but basic compared to a modern operating system. You can navigate not only with the keyboard but also with a pointing device. The TouchPad, the pointing stick located in the center of the keyboard, or a standard USB mouse will function here, provided that USB legacy support is enabled in the settings. Using the arrow keys and the Tab key is often the fastest method. Selecting a menu or item simply requires you to highlight it and press Enter . The design is logical, with main menus listed horizontally and sub-settings appearing in the center of the screen.
Monitoring System Health and Diagnostics
Before making any changes, it is wise to check the current firmware version and understand the diagnostic codes the system might present to you. The POST (Power-On Self-Test) is the first diagnostic routine that runs every time the machine starts.
Determining the Current BIOS Version
To determine whether you need an update, you first need to know the version you are currently running. This information, sometimes labeled as the ROM date and System BIOS, is accessible without entering the full setup. A quick method from within Windows is to press the Fn and Esc keys simultaneously, which displays the System Information window. If you are already inside Computer Setup, navigate to the Main menu and select System Information. Here, the firmware version, along with other vital hardware specifications, is displayed clearly .
Interpreting POST Diagnostic Codes
If the system encounters a critical failure during startup, it might not be able to display an error message on the screen. In these situations, the Hp Elitebook 840 G1 Bios communicates using a series of blinking lights and audible beeps. These patterns are distinct and diagnostic .
-
Blink or Beep Codes: The codes use a two-part pattern of major and minor blinks or beeps.
-
Error Categories:
-
2 blinks/beeps: Indicates a BIOS failure or corruption.
-
3 blinks/beeps: Indicates a hardware failure, commonly tied to memory.
-
4 blinks/beeps: Indicates a thermal shutdown.
-
5 blinks/beeps: Indicates a system board failure.
Recognizing these patterns can instantly pinpoint whether a failure to start is due to a corrupted firmware chip or a dislodged memory module .
-
Configuring Settings for Optimal Use
The default settings are designed for general stability, but specific adjustments can enhance the user experience. Two of the most common configurations involve the boot order and security.
Adjusting the Boot Order
The boot sequence determines which storage device the system checks first for an operating system. If you need to start the computer from a USB drive or an external optical drive to install a new system or run a recovery tool, you must alter this order. Inside Computer Setup, using the arrow keys, navigate to the System Configuration tab or a similar menu listing devices. Here, you can prioritize USB hard drives or network boots before the internal storage. Once you finish the task, it is a good security practice to return the setting to start exclusively from the internal drive to prevent malicious software from booting from an external source.
System Time and Date
Keeping the real-time clock accurate is important for file timestamps and security certificates. If your notebook consistently loses the correct time and date, it is often a sign that the small coin-cell CMOS battery on the mainboard needs to be replaced. While you can manually set the time in the Main tab of the BIOS, the fix will only be temporary until this battery is serviced.
Fortifying Security Within the Firmware
Security features within the firmware are among the most powerful tools available on the EliteBook 840 G1. Because these passwords are stored on the mainboard, they are much harder to bypass than operating system passwords.
Setting an Administrator Password
An administrator password prevents unauthorized users from entering Computer Setup and changing the system configuration. To set this, navigate to the Security menu. Select Set Administrator Password, and enter a strong, memorable passphrase. Once set, this password will be requested every time you try to access the setup menu by pressing F10. This provides a robust defense against tampering with boot settings or enabling unauthorized devices .
The Power-On Password
Distinct from the administrator password, a power-on password adds a layer of protection that activates immediately after the power button is pressed. When configured, the system will halt and demand a password before the operating system begins to load. Without this code, the hard drive is locked and the system cannot proceed. This offers an effective deterrent against data theft if the notebook is lost.
Understanding HP SpareKey
A significant concern for many is being locked out of their own machine. The Hp Elitebook 840 G1 Bios includes a recovery mechanism known as HP SpareKey on UEFI-based models. When setting up a power-on or administrator password, you are prompted to create a SpareKey by answering three personal identification questions. If you later forget your password, you can enter an incorrect password three times. On the third failed attempt, the system will present a screen prompting you to press F7 for HP SpareKey Recovery. Upon correctly answering your pre-selected questions, you will regain access to the setup and can reset the forgotten password. This feature is a vital safety net that relies on your ability to recall personal details chosen during setup .
Maintaining Your System Through Firmware Updates
Over time, HP releases updates for the system firmware. These updates, packaged in files called SoftPaqs, can provide fixes for hardware compatibility, improve system stability, or patch security vulnerabilities .
Preparing for an Update
Updating the firmware is a delicate process. The primary and non-negotiable safety rule is to ensure the notebook is connected to a reliable AC power source using the adapter. Never run a firmware update while the computer is running on battery power. Interrupting the process with a power loss can corrupt the firmware, potentially rendering the mainboard unusable. During the download and installation, do not shut down the computer, do not initiate Sleep mode, and do not connect or disconnect any devices, cables, or cords .
Installing the Update from the Operating System
The most straightforward method involves running the SoftPaq directly from within the current operating system. Download the specific update file for the 840 G1 from the official support site. Before beginning, close all other applications. Run the downloaded file as an administrator. The utility will guide you through the preparation and then prompt a restart. Upon rebooting, the screen will flash, and you will see a progress bar indicating the firmware is being rewritten. Do not interfere with the computer during this critical phase. The system will restart again once the installation is complete.
Creating a Recovery USB Flash Drive
A prudent preventative measure is creating a dedicated recovery USB drive. This allows you to recover the system if the main firmware becomes so corrupted that the computer cannot boot into the operating system. When you run the BIOS update SoftPaq, the installer offers an option to “Create Recovery USB flash drive.” You will need a secondary computer if the main one is non-functional. Insert a USB drive, select it in the utility, and allow the tool to format the drive and copy the recovery files to it .
Recovering from a Corrupted Firmware
A scenario that causes significant worry is a failed update or a corrupted BIOS, often indicated by a black screen and a specific sequence of flashing LED lights, particularly the Caps Lock or Num Lock keys blinking twice repeatedly. This indicates a BIOS corruption failure .
Performing Crisis Recovery
HP has engineered a built-in emergency recovery mode known as Crisis Recovery. If the firmware fails to load, the system may attempt this automatically. If it becomes stuck in a loop or fails to trigger, you can force the process. First, remove all power sources, including the AC adapter and the battery if it is removable. Reconnect the AC power. Press and hold the Windows key and the B key on the internal keyboard simultaneously. While holding these two keys, press the power button for about one second, then release the power button but continue to hold the Win + B keys for several more seconds. The screen might remain dark, but you should see the power LED blink, and the system will attempt to restore the firmware from a backup partition on the drive .
Recovery Using a USB Drive
If the local backup is also damaged, the previously prepared USB recovery flash drive becomes essential. Insert the recovery USB into a port on the non-functional computer. With the AC adapter connected, perform the same Win + B key combination sequence to trigger the Crisis Recovery mode. This time, the system will look for the recovery files on the attached USB drive and reflash the main firmware chip. The device might restart up to three times during this process, with the keyboard lights flashing or the screen appearing blank for a duration, so patience is absolutely necessary .
Conclusion
The Hp Elitebook 840 G1 Bios is a powerful control center that acts as the silent gatekeeper of your computing experience. From the moment you press the power button, its sophisticated routines work to validate hardware integrity and hand off a functioning system to the operating system. Understanding how to access this environment via the Esc and F10 keys is the first step toward taking full ownership of the device. The ability to adjust the boot order provides flexibility in system recovery, while the robust password features offer profound security that protects valuable data. Moreover, knowing how to safely apply a SoftPaq update and, critically, how to perform an emergency Crisis Recovery using the Win + B key combination equips you to handle the most daunting startup failures. This knowledge transforms the BIOS from an obscure technical interface into a manageable and essential tool, ensuring that your HP EliteBook 840 G1 remains a reliable and secure partner for years to come.